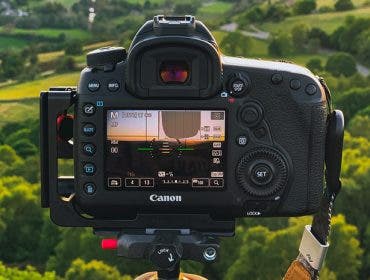

One the most important things to master as a photographer outside of exposure and proper shutter speed settings is to master composition. Composition at its most basic is how a photographer frames his subject within the context of the full scene. Proper composition is the difference from a photograph that is aesthetically pleasing or conveys the proper gravitas from just another snapshot. When using proper composition your photographs become stories about the scene or subject; in this article, we’ll take a quick look at some composition tricks that you can learn and try out to take your photography to the next level.
Rule of Thirds

The first and most common composition rule is the rule of thirds. The rule of thirds simply states that by aligning your subject within specific points in a frame you create a natural guide to the viewer’s eye leading to the most important points in the photograph. This compositional cue can be visualized by splitting any frame with two vertical and two horizontal lines running through your image. The goal then becomes ensuring your subject sits comfortably within two intersecting points on the frame, occupying a third of your frame.
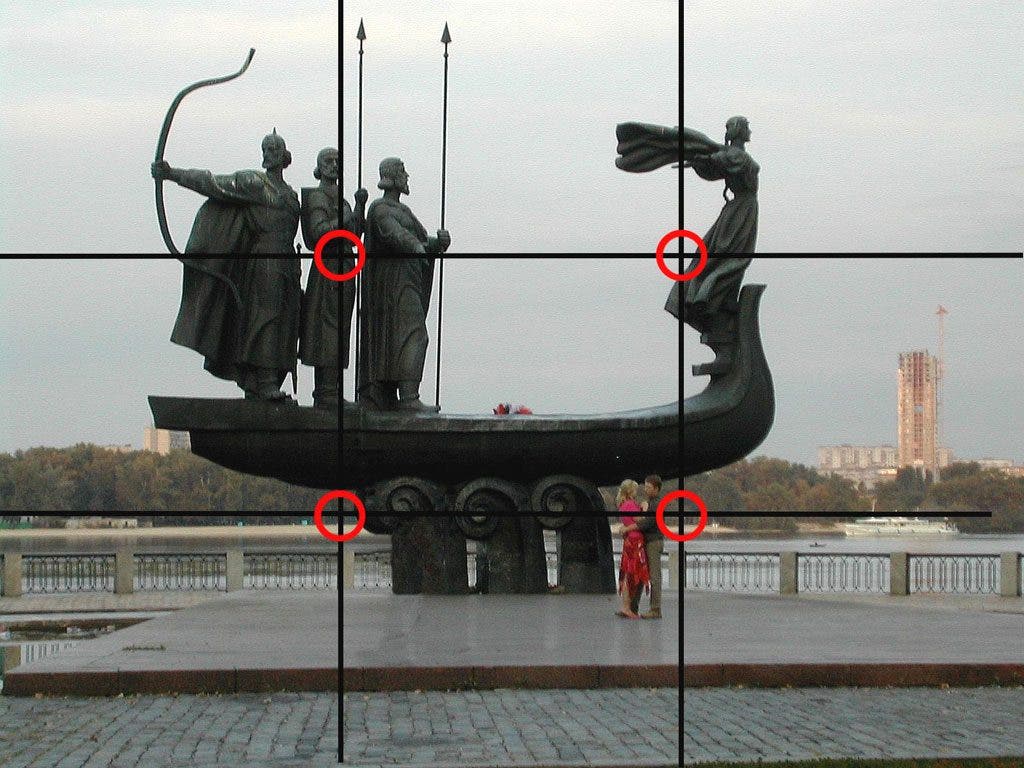
Nowadays many camera manufacturers have a display option on their cameras’s EVF or live view display that automatically overlays this grid on your preview, allowing you to compose before you shoot. If for any reason you may have missed the option to turn this setting on, you can always recompose using a photo editor like Lightroom or Apple’s Photo App (under advanced edit) and the crop tool.
Natural Frames
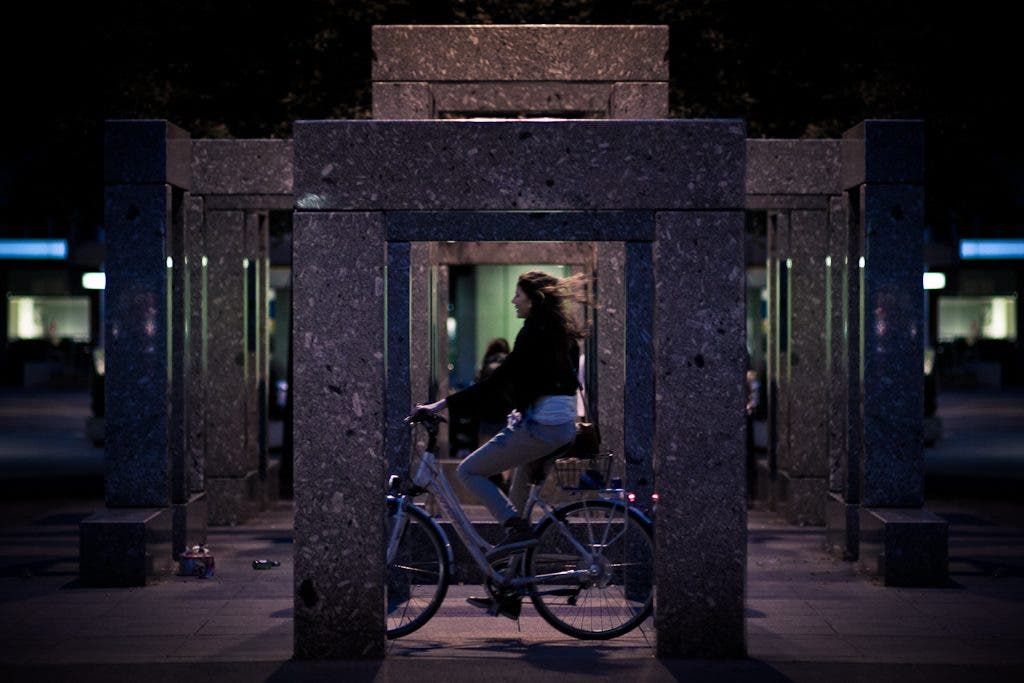
Our eyes are naturally drawn to certain objects like frames; anything inside of a frame is a visual cue letting us know that there’s something of importance or significance within the frame. Naturally one way to improve your photographs is to find naturally occurring frames around your subjects. Frames can be anything from window sills to trees and other fauna that help your subject stand out.
Whenever you’re out shooting keep an eye out for these frames as they may help you rethink how you intended to shoot a scene. Personally, I like to use frames in nature/environment to help frame portraits and street scenes.
Leading Lines

Another way to direct a viewer’s attention to your subject is the use of leading lines. Leading lines can be anything from railings, painted lines, or roads that catch your eye and take it to somewhere else in a frame giving the viewer a sense of depth but also weight in a frame. Leading lines typically will lead the viewer from a less important part of the frame and lead to the main subject. Leading lines are super versatile and can be found in anything from portraits to landscapes, to architectural photography.
When you’re out there making images, one way to remember the rule of Leading Lines is to consider where your subject is headed/coming from. By giving your subject context within its scene you can craft a more impactful image and tell a completely different story.
Watch the Horizon
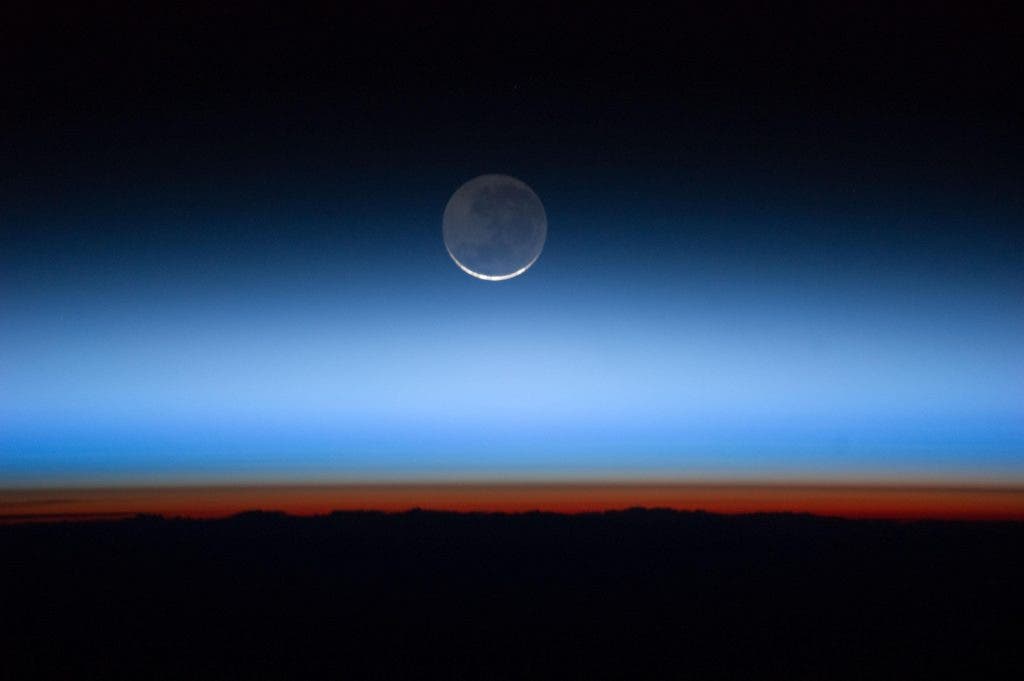
A lot of our snapshots tend to keep the horizon line running through the center of the frame. Though there may be nothing wrong with it, even appearing most natural, you can give your images a more dramatic look by playing with the positioning the horizon line in your photographs. In some cityscapes by lowering the horizon line you can better capture the vastness of a skyline or capture the full magnitude of a mountainous scene.
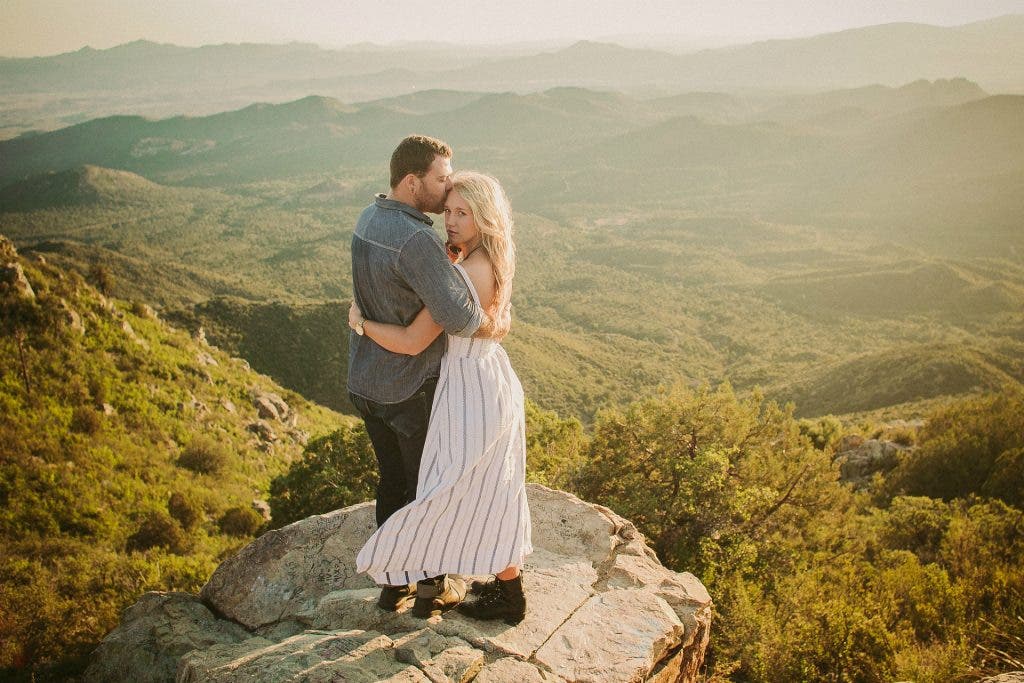
Playing with the horizon line in a portrait can help add a mood to your story – whether it places your subject in a more exciting light or adds melancholy, playing with the horizon line can help you tell a different story by taking advantage of space.
Depth

Although photographs are typically a 2D affair, capturing depth in your images is a great compositional element to make your photographs stand out. When making your photographs, always keep in mind where in space your subject is. Bokeh- the soft, out-of-focus space around a subject- is just one way to create depth in an image.
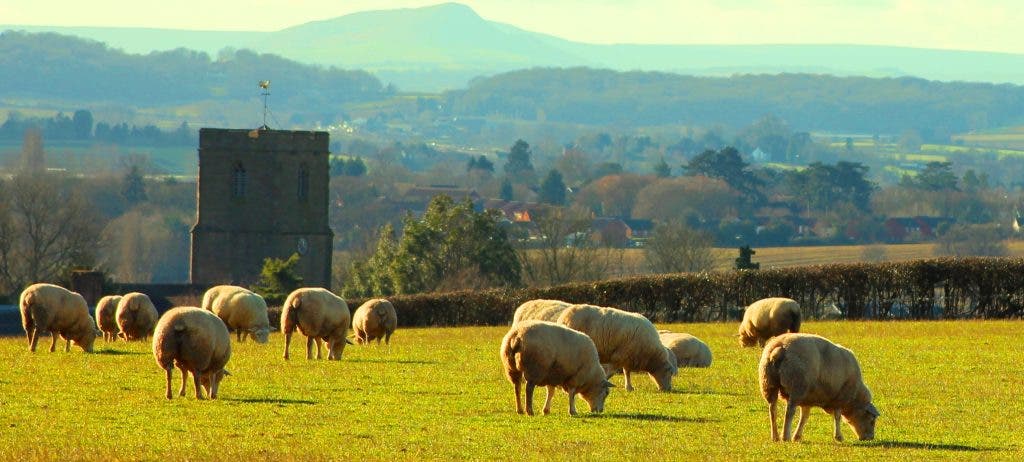
Another thing to consider is the full picture when framing your shots; sometimes the scenery lends itself to creating varying degrees of separation and depth. Keep an open eye and look for ways to make your image stand out.
Putting it together
Now that you’ve got the basics down, look for ways to incorporate these principles into your own photographs. Each rule won’t work in every situation but they will help you by giving you a starting point. Try mixing and matching them or ignoring them altogether; give yourself the space and freedom to experiment. Remember the best way to improve your photography is to go out there and keep making photographs.